Add the SDK (Android)
Add the SDK to your Android app
To add JWX's video experience to your app, you must import the JWX Android SDK and then configure your project.
You can download the SDK using the Gradle or Local approaches listed below.
| Approach | Notes |
|---|---|
| Gradle (Recommended) |
|
| Local |
|
If you have any problems completing any of these tasks and have a valid JWX license, please log a support ticket for assistance.
Gradle
Follow these steps to import the Android SDK into your project with Gradle:
- From within Android Studio, open your app.
- In the project build.gradle file, add the JWX Maven repository.
allprojects {
    repositories {
	...
        maven {
            url 'https://mvn.jwplayer.com/content/repositories/releases/'
        }
    }
}
-
In the app build.gradle file:
-
Add the dependencies. When prompted by Android Studio, update the dependency versions.
ext.jwPlayerVersion = '4.26.0' ext.exoplayerVersion = '<<androidExoplayerVersion>>' dependencies { ... // JWX SDK implementation "com.jwplayer:jwplayer-core:$jwPlayerVersion" implementation "com.jwplayer:jwplayer-common:$jwPlayerVersion" ... } -
Set the SDK versions and enable Java 8 language features during compilations.
The
compileSdkis the Android API level used to compile your app, determining which APIs are available at build time. ThedefaultConfigdefines the baseline configuration for your Android app module. ThecompileOptionsenables Java 8 language features during compilation.android { compileSdk 36 defaultConfig { ... minSdkVersion 24 targetSdkVersion 36 multiDexEnabled true } ... compileOptions { sourceCompatibility = '1.8' targetCompatibility = '1.8' } }
-
-
In the gradle.properties file, set
android.useAndroidXandandroid.enableJetifiertotrue. These plugin files enable you to use androidx-namespaced libraries in your project.If you are using a current version of Android Studio, the gradle.properties file should already contain these settings.
# Project-wide Gradle settings. android.useAndroidX=true android.enableJetifier=true -
Sync Gradle.
You have imported the JWX Android SDK into your project. You can now configure ProGuard and configure the manifest.
Local
Download the SDK .zip file
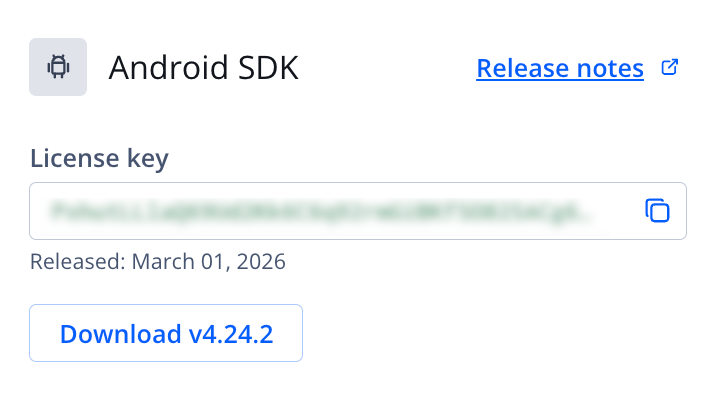
Android SDK section
Follow these steps to download the SDK:
- On the Properties tab, click the name of a property. The property settings page appears.
- Under Network & setup files, click Player setup files. The Player setup files page appears.
- Under Android SDK, click Download v4.xx.x to download the player library to your device.
- Unzip the downloaded file.
Add the SDK dependencies
Follow these steps to add the SDK dependencies:
- From within Android Studio, open your app.
- Create a new directory in your app directory named libs.
- Copy and paste jwplayer-core-x.x.x.aar into the libs folder.
- Copy and paste jwplayer-common-x.x.x.aar into the libs folder.
Complete app and project configurations
Follow these steps to complete the app and project configurations:
-
In the app build.gradle file:
-
Add the dependencies. When prompted by Android Studio, update the dependency versions.
ext.exoplayerVersion = '<<androidExoplayerVersion>>'

dependencies {
    ...
    // <<company>> SDK classes
    implementation fileTree(dir: 'libs', include: 'jwplayer-core-x.x.x.aar')
    implementation fileTree(dir: 'libs', include: 'jwplayer-common:x-x.x.x.aar')

    // ExoPlayer dependencies

    implementation "androidx.media3:media3-common:$exoplayerVersion"
    implementation "androidx.media3:media3-extractor:$exoplayerVersion"
    implementation "androidx.media3:media3-exoplayer:$exoplayerVersion"
    implementation "androidx.media3:media3-exoplayer-dash:$exoplayerVersion"
    implementation "androidx.media3:media3-exoplayer-hls:$exoplayerVersion"
    implementation "androidx.media3:media3-exoplayer-smoothstreaming:$exoplayerVersion"
    implementation "androidx.media3:media3-ui:$exoplayerVersion"

    // <<company>> Native UI dependencies
    implementation 'com.squareup.picasso:picasso:2.71828'
    implementation 'androidx.viewpager2:viewpager2:1.0.0'
    implementation 'com.android.volley:volley:1.2.0'
    implementation 'androidx.recyclerview:recyclerview:1.2.1'
    implementation 'androidx.appcompat:appcompat:1.3.1'
    implementation 'com.google.android.material:material:1.4.0'
    implementation 'androidx.constraintlayout:constraintlayout:2.0.4'
}
-
Set the SDK versions and enable Java 8 language features during compilations.
The
compileSdkis the Android API level used to compile your app, determining which APIs are available at build time. ThedefaultConfigdefines the baseline configuration for your Android app module. ThecompileOptionsenables Java 8 language features during compilation.android { compileSdk 35 defaultConfig { ... minSdkVersion 24 targetSdkVersion 35 multiDexEnabled true } ... compileOptions { sourceCompatibility = '1.8' targetCompatibility = '1.8' } }
-
-
In the gradle.properties file, set
android.useAndroidXandandroid.enableJetifiertotrue. These plugin files enable you to use androidx-namespaced libraries in your project.If you are using a current version of Android Studio, the gradle.properties file should already contain these settings.
# Project-wide Gradle settings.

android.useAndroidX=true
android.enableJetifier=true
- Sync Gradle.
You have imported the JWX Android SDK into your project. You can now configure ProGuard and configure the manifest.
Updated 1 day ago