Create a Broadcast Live clip
Learn how to generate a clip from a Broadcast Live stream
Live Clipping enables you to create clips of notable moments as they occur during your live stream. A live clip can be created from any point of a live stream up to the live edge of your stream. Once created, your live clips appear in your Media Library and can be posted to your social media accounts and other digital channels, such as your websites and apps.
Using Live Clipping to promote a live event, breaking news, training, or performance can help drive traffic to your live content and increase viewer engagement.
If you are a developer or have developer resources, you can use the Management API to create a Broadcast Live clip.
Create a live clip
Clips made from a DRM-protected live stream will also be DRM-protected. However, you can remove DRM from the resulting VOD clip if needed.
Learn about our rapid Broadcast Live to VOD live clipping option.
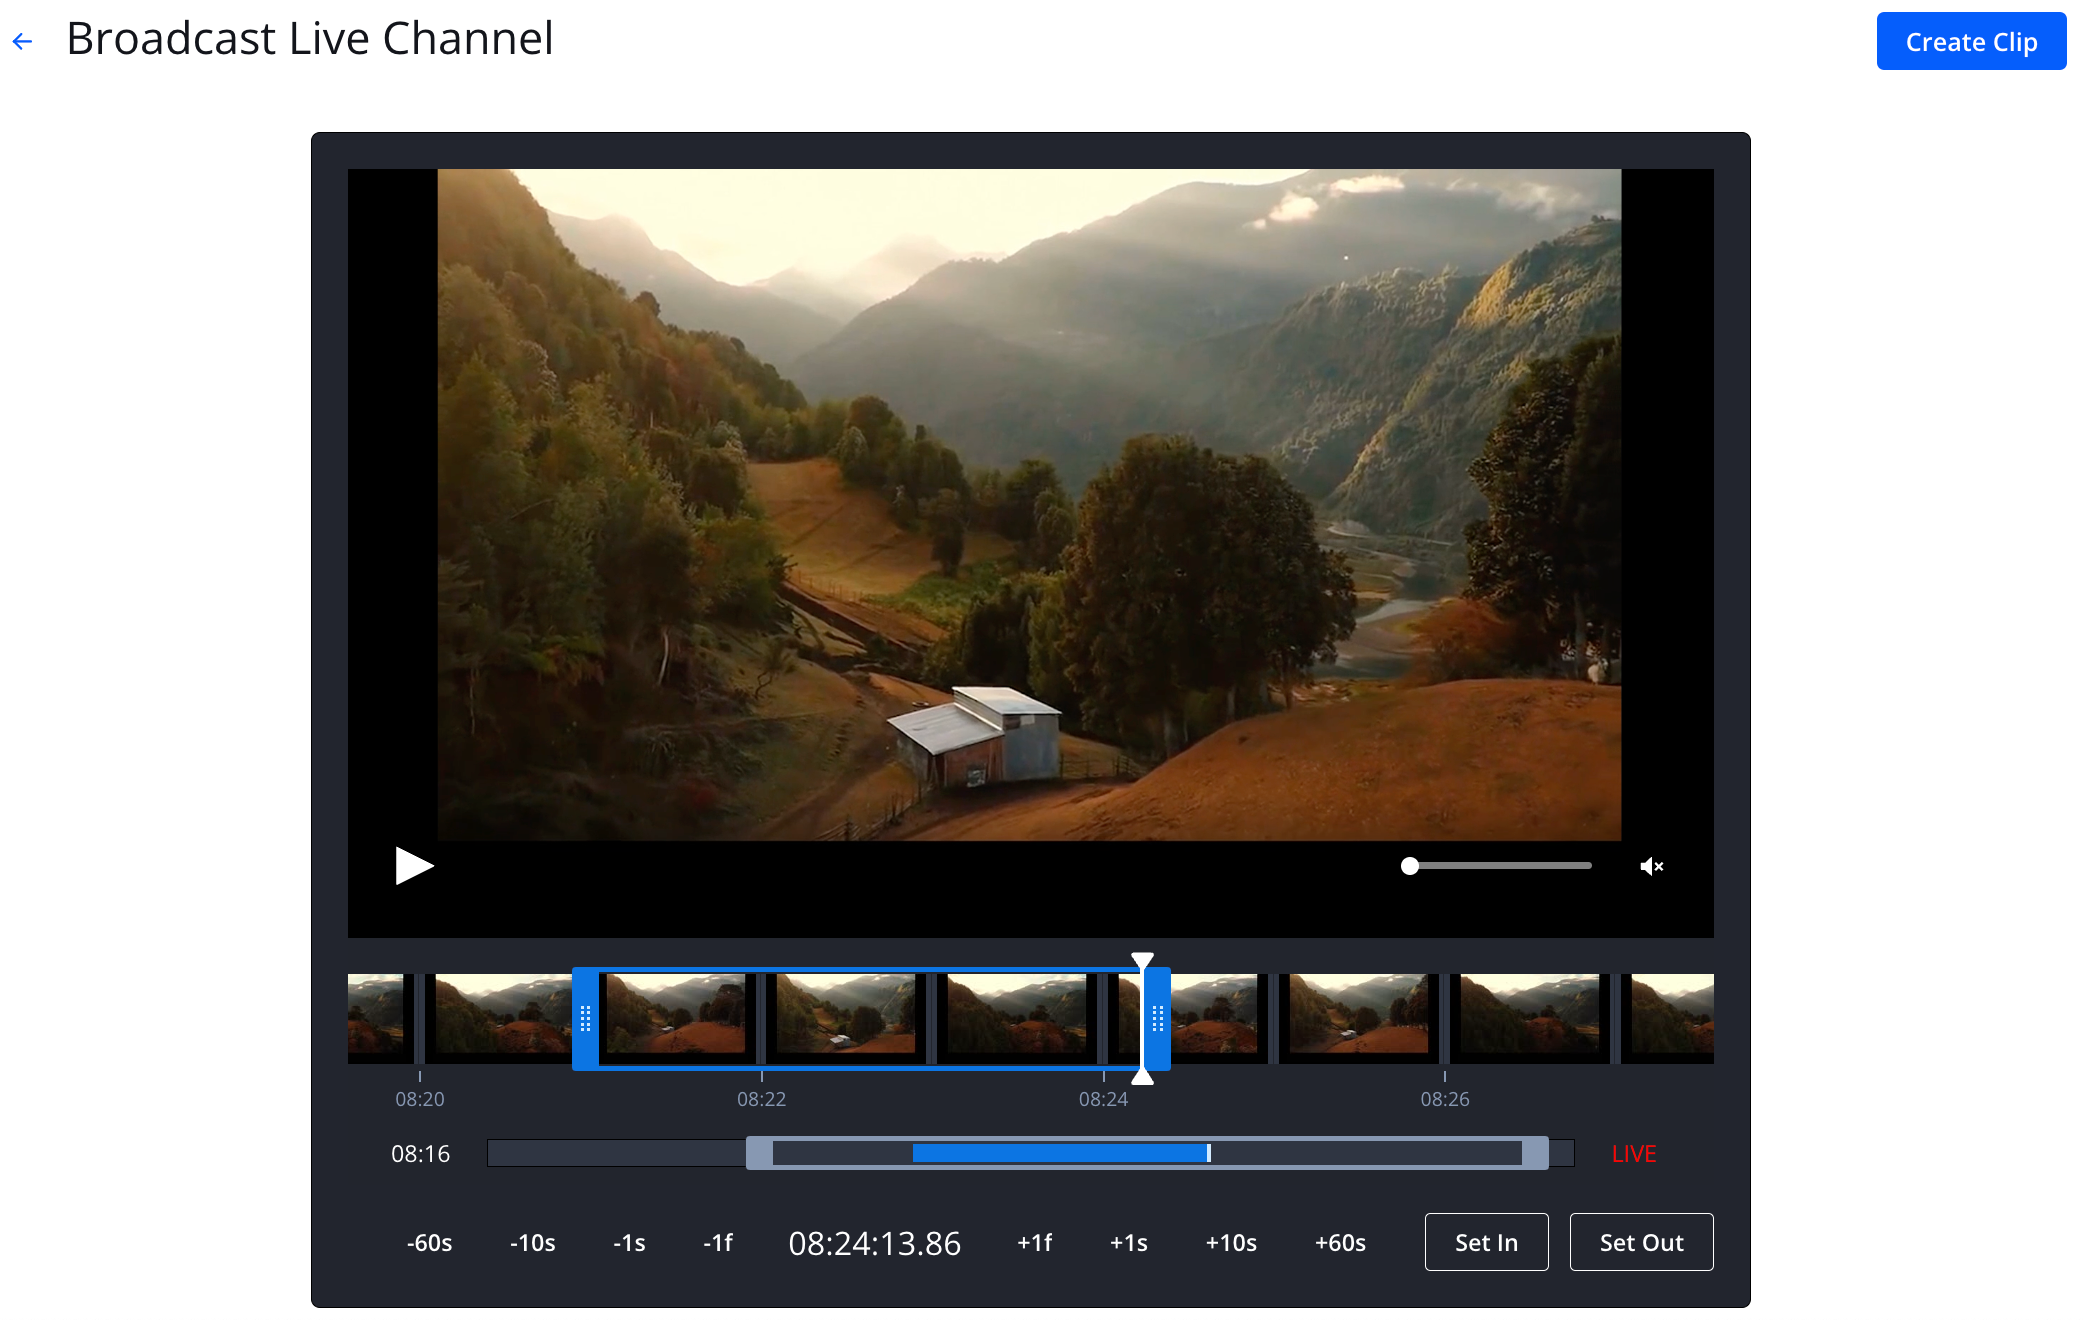
Follow these steps to create a live clip:
-
From the Live Streaming page, click the Broadcast Live tab.
-
Click the name of an active Broadcast Live channel. The stream preview page appears.
-
Under the preview window, click Create a Clip. The clipping interface appears.
-
Define the clip through one of the following approaches:
Click and drag
- On the timeline, click at the point where the clip should start. A marker appears.
- Drag from the marker to the point where the clip should end. As you begin dragging a blue rectangle appears outlining the boundary of the video clip.
- (Optional) Click and drag either end of the rectangle or use the clipping shortcuts to adjust the clip duration.
Define Set In and Set Out points
- On the timeline, click at the point where the clip should start. A marker appears. You can use the clipping shortcuts to adjust the location.
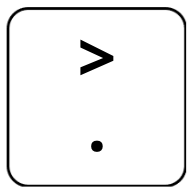
- Click Set In or the letter I on your keyboard to set the current marker location as the in point of the clip. A blue rectangle appears.
- Click at the point where the clip should end. A marker appears. You can use the clipping shortcuts to adjust the location.
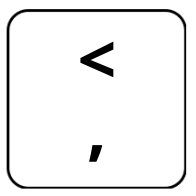
- Click Set Out or the letter O on your keyboard to set the current marker location as the end of the clip. The right side of the blue rectangle extends to the end location. The blue rectangle shows the boundary of the video clip.
Beneath the main timeline is a focusing timeline. By dragging or adjusting the gray section within the stream timeline, you can focus in on a part of the stream from which you want to capture the live clip.
-
In the preview window, click the play icon to preview the clip.
-
Click Create Clip. The Save as New Clip popup window appears.
-
Enter a Clip Title to name the video clip.
-
(Optional) Click Navigate to new clip to open the new clip after it has been created.
-
(Optional) Click Copy tags and custom parameters to the new clip to ensure metadata from the original live stream is inherited by the new clip.
-
Click Create. Once the clip is processed, the new clip will appear in your media library.
Shortcut Reference
The Live Clipping shortcuts allow you to quickly navigate through a live stream, set in and out points, and preview a live clip.

Each of the on-screen and keyboard shortcuts is listed and described in the following tables.
Navigation
You can use the following shortcuts to refine the in and out points of a live clip.
| Description | On-screen Control | Keyboard Shortcut |
|---|---|---|
| Move backward by one minute | -60s |
--- |
| Move backward by 10 seconds | -10s |
--- |
| Move backward by five seconds | --- |
|
| Move backward by one second | -1s |
--- |
| Move backward by one frame | -1f |
 |
| Move forward by one frame | +1f |
 |
| Move forward by one second | +1s |
--- |
| Move forward by five seconds | --- |
|
| Move forward by 10 seconds | +10s |
--- |
| Move forward by one minute | +60s |
--- |
| Move to the live edge | LIVE |
--- |
In and Out Points
You can use the following shortcuts to set the in and out points of a live clip.
| Description | On-screen Control | Keyboard Shortcut |
|---|---|---|
| Set the in point (beginning) of a live clip at the location of the marker |  |
 |
| Set the out point (end) of a live clip at the location of the marker | 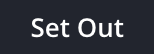 |
 |
Playback
You can use the following shortcuts to play the stream or preview a live clip.
| Description | On-screen Control | Keyboard Shortcut |
|---|---|---|
| Play the live stream or preview a live clip | |
 |
FAQ
How can I enable faster, higher-quality Broadcast Live to VOD conversions and live clipping?
Use our CMAF VOD workflow. JWX’s CMAF VOD workflow enables faster conversions and clip creation, preserving original renditions without retranscoding for higher-quality outputs.
Key behaviors
- Live-to-VOD conversion and live clipping create a CMAF VOD media item (with a distinct media ID).
- All video, audio, and text renditions from the original live stream are preserved in the resulting CMAF VOD media item.
- SCTE markers from the source live stream are preserved as ad cues in the VOD asset.
- Advertising content from the original live stream is removed in the clipped output or VOD conversion.
Configuration
When updating a live stream endpoint via the Management API, set the live_to_vod_method parameter to renditions_capture. This setting is required for both live-to-VOD conversions and live clip creation.
The CMAF VOD workflow is in a beta stage. Some features are not yet available. Before updating your configuration, verify that the current capabilities meet your specific use case.