Edit stream metadata
Manage the metadata associated with a Broadcast Live stream
After creating a Broadcast Live stream, you can enrich your viewers' experiences by incorporating metadata, which offers additional information about your stream. Metadata consists of descriptive elements such as stream descriptions, relevant tags, and the publishing date, all of which enhance your viewers' understanding of and engagement with your content.
Edit metadata
The stream metadata is captured in the associated media item. Both the Broadcast Live stream ID and the associated media ID of the item have the same value.
Follow these steps to edit metadata fields for your Broadcast Live stream:
- In your Media library, click the name of a stream. The steam details page appears.
- Click the title of the stream to rename the video.
- On the Basic information or Advanced settings tab, update one or more metadata fields.
- (Optional) Add or manage simulcasting.
- (Optional) Add or manage an SRT passphrase.
- Click Save.
After editing your metadata, you can monetize the stream or embed and start broadcasting content.
Basic information

Basic Information tab
| Section | Description |
|---|---|
| Description | Short explanation of the stream content
This text can improve search engine optimization and video recommendations. To prevent having a description shortened in search engine results, limit descriptions to less than 100 characters. |
| Tags | User-generated labels used to classify a stream
You can add tags as single tags or as a comma-separated list: Single Tag
|
| Content Type | Enables selecting a content type schema for a live stream
Content types allow you to classify media by categories with shared custom parameters. Selecting a content type enables you to promote a live stream in an OTT app.
When you add a content type, the stream status and schedule of the media item will update automatically. The publish date will be set to 30 days prior to the planned start date. |
| Custom Parameters | User-generated name-value pairs
As examples, custom fields can be used when setting cue points or storing legacy media IDs. You can also set default custom parameters that are applied to all new videos uploaded through your JWX dashboard. |
Advanced settings
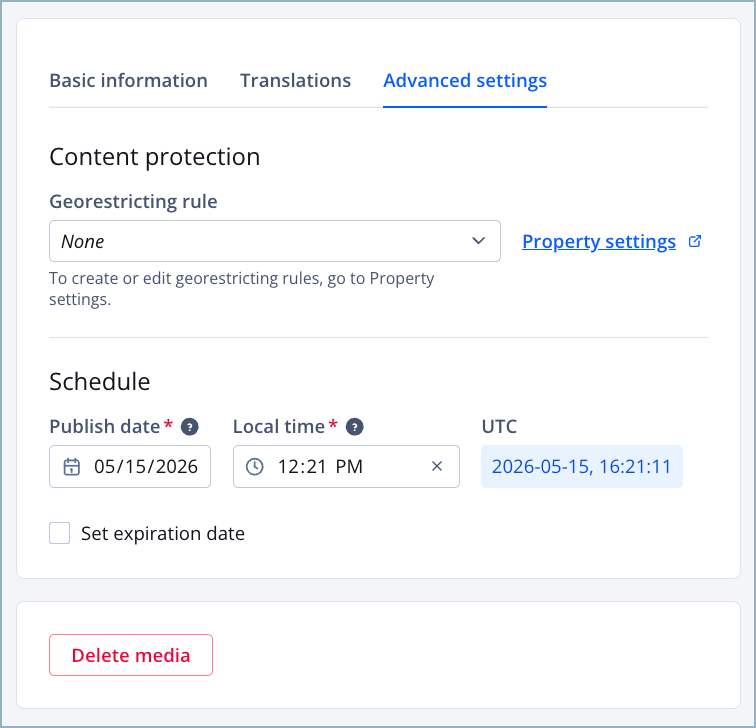
Advanced settings tab
| Section | Description |
|---|---|
| Content Protection | Georestricting rule controlling where the content can be viewed |
| Publish Scheduling | Active dates of the stream
You can update the Publish Date and Local Time of a stream to any time to between Jan 01, 1970 00:00:00 - Jan 19, 2038 03:14:07. The UTC time will be calculated. Click the checkbox next to Set Expiration Date to update the Expiration Date and Local Time for the stream. You can set a stream to end at any time between Jan 01, 1970 00:00:00 - Jan 19, 2038 03:14:07, but after the Publish Date and Local Time. The UTC time will be calculated. If the Set Expiration Date is not selected, the stream will remain published indefinitely. |
Simulcasting
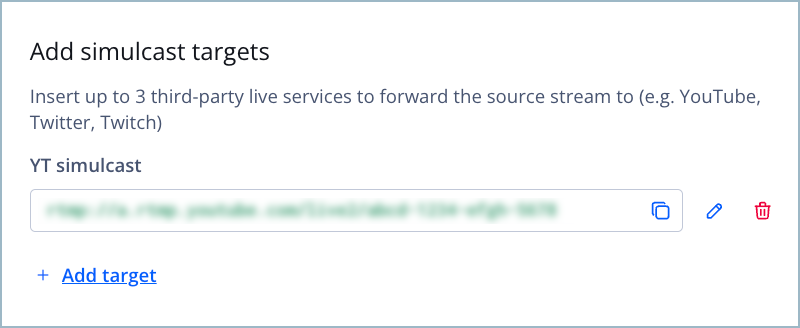
Add simulcast targets section
Simulcasting forwards your live stream to a maximum of three targeted social media platforms, extending your audience reach and content visibility. You can simulcast 24/7 channels and Live events.
If you are simulcasting a 24/7 channel, please ensure the target platform supports continuous streams without an end time.
You can add and manage simulcasting targets in an existing stream.
| Action | Description |
|---|---|
| Add a target | Follow these steps:
|
| Edit a target | Follow these steps:
|
| Delete a target | Follow these steps:
|
SRT passphrase
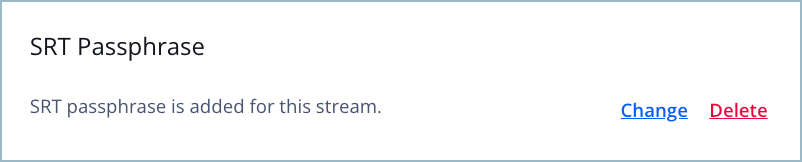
SRT passphrase section
You can add and manage your SRT passphrase in an existing SRT-push or SRT-pull stream. Setting an SRT passphrase ensures that only authorized source encoders can send content to the ingest point.
| Action | Description |
|---|---|
| Add an SRT passphrase | Follow these steps:
|
| Edit an SRT passphrase | Follow these steps:
|
| Delete an SRT passphrase | Follow these steps:
|
Updated about 2 months ago