Edit video metadata
After uploading or analyzing the performance of a video, you may decide to make a video more interesting to your viewers by editing the metadata for the video. Metadata is descriptive information about a specific media asset, such as description, tags, and publish date.
Edit video metadata
Follow these steps to edit metadata fields for a media asset in your library:
- In your Media library, click the name of a video. The details page of the video appears.
- On the Basic information tab, update one or more metadata sections or fields.
- On the Translations tab, add one or more translations for your content metadata.
- On the Advanced settings tab, configure one or more media settings.
- Click Save.
Basic information
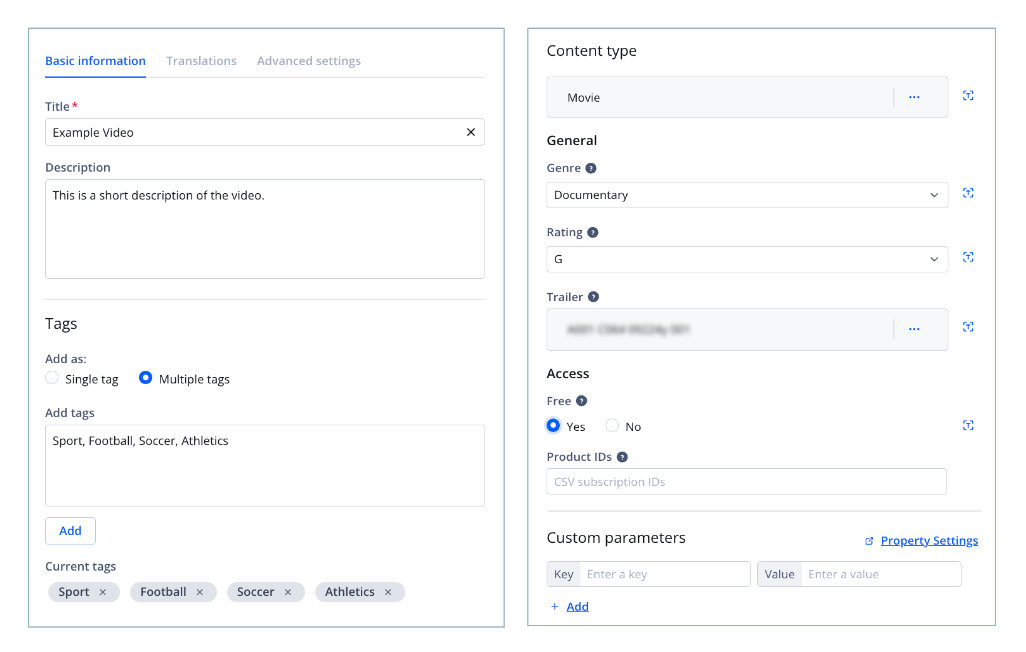
Basic Information tab
| Section | Description |
|---|---|
| Title* | (Required) Name of the media item The Title field allows you to create an enticing, accurate name that engages your viewers and is optimized for search (under 60 characters with highly searched keywords). By default, JWX uses the video filename. Special characters are removed from the filename. |
| Description | Short explanation of the video content
This text can improve search engine optimization and video recommendations. To prevent having a description shortened in search engine results, limit descriptions to less than 100 characters. |
| Tags | User-generated labels used to classify a video
You can add tags as single tags or as a comma-separated list:
Tags are limited to 128 characters in length, are case-sensitive, and ending whitespaces are removed. Tags can be used in several ways:
|
| Content Type | Type of media based on shared custom parameters Customers with app config access can use content types to classify media by categories with common fields, such as movies, episodes, and live events. For more information, learn how to add a content type. |
| Custom Parameters | User-generated name-value pairs
As examples, custom fields can be used when setting cue points or storing legacy media IDs. You can also set default custom parameters that are applied to all new videos uploaded through your JWX dashboard. |
Advanced settings
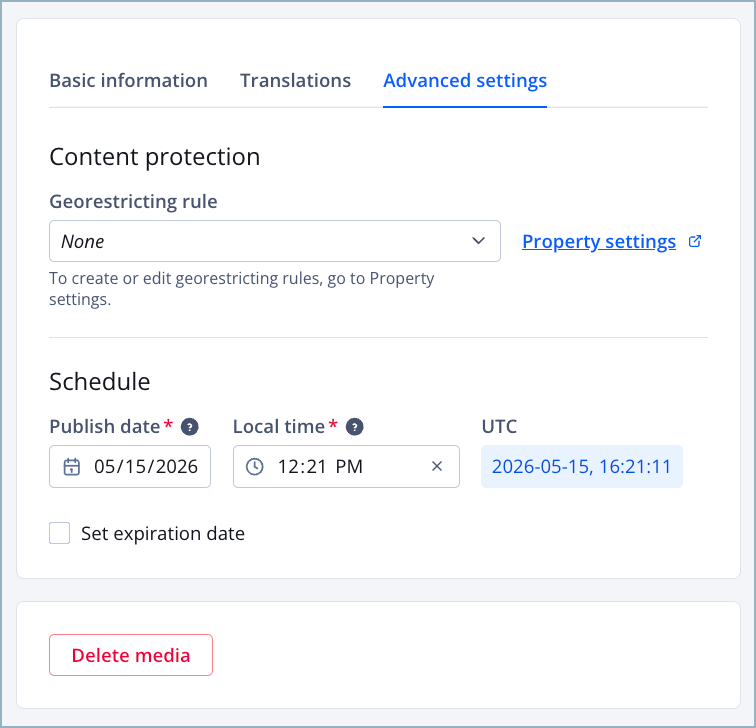
Advanced settings
| Section | Description |
|---|---|
| Content protection | Settings to control your content viewability and access The Georestricting rule field allows you to control the locations where your content can be viewed. To select a value from the dropdown, you must first define a georestricting rule. Digital Rights Management (DRM) protects media by controlling how videos are accessed, played, and shared across devices and platforms. Toggle the field ON or OFF to change your DRM status. For DRM-enabled properties, DRM is applied to all media items by default.
|
| Publish scheduling | Active dates of the video
You can update the Publish Date and Local Time of a video to any time to between Jan 01, 1970 00:00:00 - Jan 19, 2038 03:14:07. The UTC time will be calculated. Click the checkbox next to Set Expiration Date to update the Expiration Date and Local Time for the video. You can set a video to end at any time between Jan 01, 1970 00:00:00 - Jan 19, 2038 03:14:07, but after the Publish Date and Local Time. The UTC time will be calculated. If the Set Expiration Date is not selected, the video will remain published indefinitely. |
FAQ
Can I enable and disable DRM for multiple media items at once?
Yes. In a DRM-enabled property, the dashboard allows you to bulk enable or disable DRM. Follow these steps:
- In your Media library, click the radio buttons of two or more media items.
- Click Manage content protection. The Manage content protection panel appears.
- (Optional) Set georestricting.
- Under Digital Rights Management (DRM), click On or Off to enable or disable DRM for the media items.
- Click Save.
The chosen DRM status is applied to the media items.
Updated 2 months ago