[ARCHIVED] Monetize the app
Learn about different advertising models to monetize your content.
This is a beta offering.
By using this documentation, you are agreeing to abide by the terms of the JWP Beta Program Agreement.
An app config allows you to configure several monetization models. Some models apply to all content within your app, while others are media-specific.
| All Content Models | Media-specific Models |
|---|---|
| • Advertising • Subscription | • Free content • Pay-per-item |
The following sections explain how to configure each monetization model.
Advertising
Apps support monetization by inserting video ads across all supported platforms. The following table lists the best advertising method to use with a type of content.
| Content | Advertising Method |
|---|---|
| Videos On-Demand (VOD) • Movies • Series | Client-side ad insertion |
| Live Streams • Live Events • 24/7 | Server-side ad insertion |
Configure client-side ad insertion
For your on-demand videos, you can schedule and manage pre-roll, and mid-roll ad breaks from your JWP dashboard. Since conversion rates are low and drop-off rates are high, we recommend not creating a post-roll ad break.
Apps only support client-side ad insertion through the IAB VAST and VMAP standards.

Display Ads dropdown menu
Use the following steps to configure advertising in an app:
- From the Apps page, click the name of the app config. The settings for the app config appear.
- Click the Ad schedule toggle to ON. A dropdown menu appears.
- From the Ad schedule dropdown menu, choose an ad schedule.
If you plan to preview your ad set up, we recommend setting up an ad schedule with test ads.
- Click Save.
- (Optional) Click Preview. A new browser tab opens displaying an interactive preview of the app.
Configure server-side ad insertion
For live events, apps support server-side ad insertion (SSAI) through the Apple HLS standard. You can trigger ad breaks by sending SCTE-35 tags with your live stream ingest.
If you intend to serve SSAI ads in your apps, inform your JWP representative. Your JWP representative will configure this functionality for each Broadcast Live channel in your apps.
Subscription
Apps also support monetizing your content with subscriptions. When enabled, a popup window appears on the content landing page prompting the viewer to choose a subscription plan to view your videos.
Depending on your app provider, unauthorized viewers may still be able to browse your library, but they will not be able to watch content.

Example subscription prompt
Subscription plans give your viewers access to the following features:
- Accessing various subscription plans to view content
- Viewing subscription content
- Accessing previously started (Continue Watching) and Favorites content
Requirement
- (JWP Service) An active InPlayer account
Contact your JWP representative for more information
Enable subscriptions
JWP allows you to enable subscription services through either JWP's service or a non-JWP third-party service.
JWP Service

Accounts and Subscriptions tab
Use the following step to enable subscriptions:
- From the Apps page, click the name of the app config. The settings for the app config appear.
- On the Accounts and Subscriptions tab, under Playback Requirements, select Account and subscription required.
- Under JWP Accounts and Subscriptions, in the Client ID section, enter your client ID. This ID determines the authentication realm where your users will create and log in to their accounts
- (Development only) Click the checkbox next to Use sandbox host.
- In the Asset ID section, enter your asset ID. This ID determines the subscription asset that needs to be purchased to watch content on the app.
- Click Save.
Non-JWP systems

Accounts and Subscriptions tab
Use the following steps to enable accounts creation:
- From the Apps page, click the name of your app config. The setting for the app config appears.
- On the Accounts and Subscriptions tab, under Playback Requirements, select Account and subscription required.
- Under JWP Accounts and Subscriptions, click the pencil icon. The Edit Payment and Subscription Service popup window appears.
- From the Edit Payment and Subscription Service dropdown menu, select Other Service.
- Click Proceed. The popup window disappears, and the page updates.
- Under Non-JWP Service, in the Service Environment ID section, enter your service environment ID.
- (Development only) Click the checkbox next to Use sandbox host.
- In the Subscription section, in the Monthly Offer ID or Yearly Offer ID field, enter the subscription asset that needs to be purchased to watch content on this app.
An offer ID can be entered into either or both of the Monthly Offer ID and Yearly Offer ID fields.
- Click Save.
Free content
You can designate a media item as free content.
Requirement
- Enabled account services
Define free content

Custom Parameters for free content
To designate certain videos as free content, use the following steps. These steps apply to both JWP and Non-JWP registration systems:
- From the Media Library, click the name of a media item. The details page appears.
- Under Custom Parameters, click + Add. A new row appears.
- For the Key, enter free.
- For the Value, enter true.
- Click Save.
Pay-per-item
Subscription settings allow you to define content as pay-per-item.
Requirement
Define pay-per-item content
JWP Service
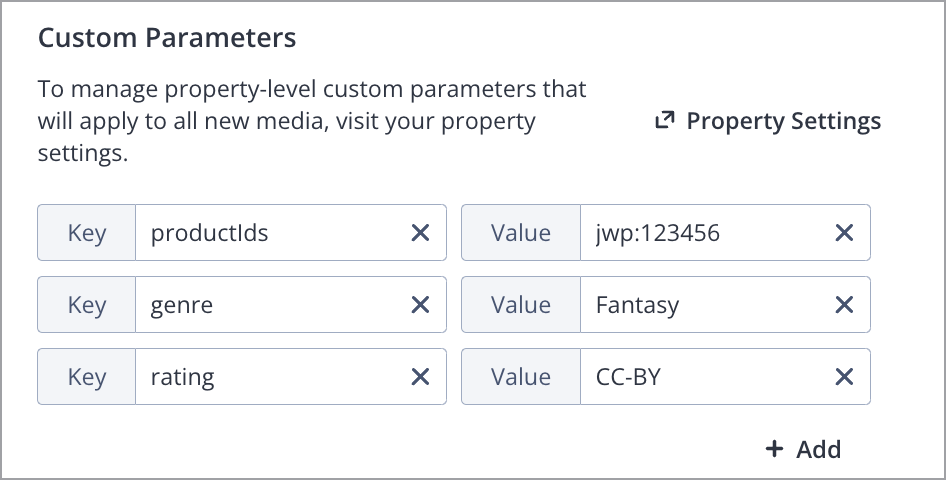
Custom Parameters section for pay-per-view item
After defining your settings with the help of your JWP representative, you can designate content as pay-per-item:
- From the Media Library, click the name of a media item. The details page appears.
- Under Custom Parameters, click +Add. A new row appears.
- For the Key, enter productIds.
- For the Value, enter the corresponding JWP asset ID (for example, jwp:123456).
If the same value is applied to multiple media items, a bundle of pay-per-item content will be created.
- Click Save.
Non-JWP systems
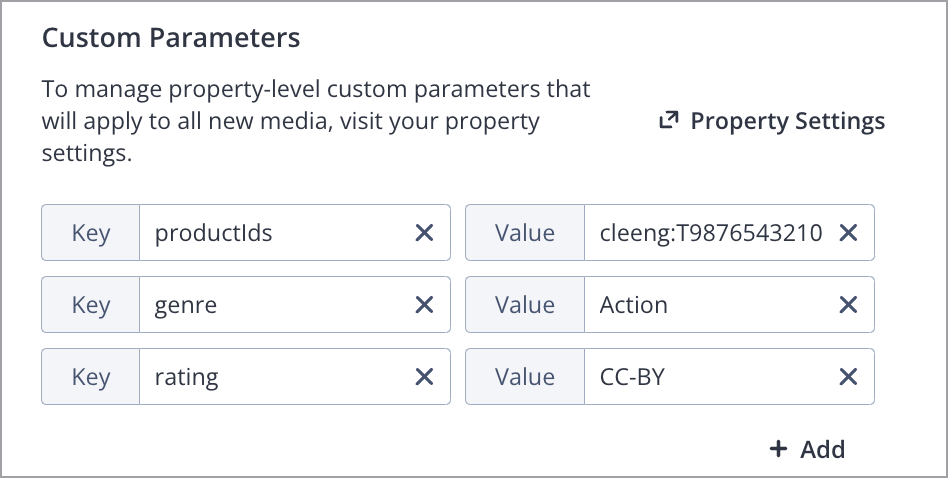
Custom Parameters section for pay-per-item
After defining your settings, you can designate content as pay-per-item:
- From the Media Library, click the name of a media item. The details page appears.
- Under Custom Parameters, click +Add. A new row appears.
- For the Key, enter productIds.
- For the Value, enter the corresponding Cleeng ID (for example, cleeng:T9876543210_US).
- Click Save.
Updated over 2 years ago