
Create an Instant Live clip

You can create clips from Instant Live events that begin and end on the exact frames you select. Share these clips as teasers on your site or in social media campaigns to encourage viewers to watch the recorded event.
Create a clip
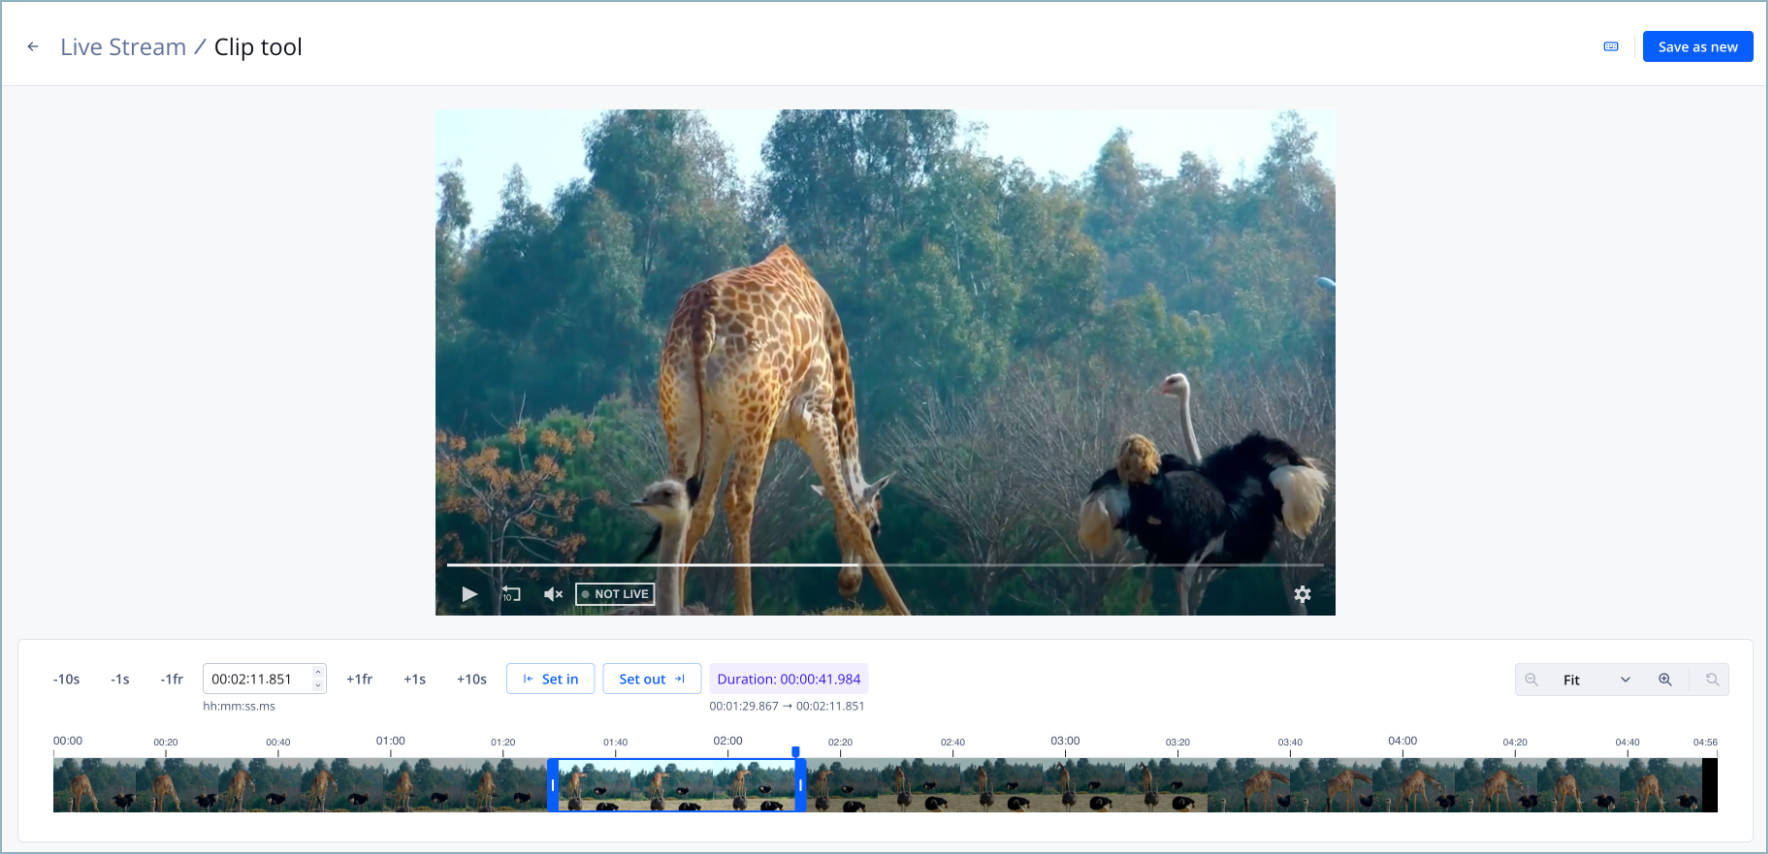
Clipping a live stream
Follow these steps to create a clip from an Instant Live event:
-
From the Live page, click the Instant Live tab.
-
Click the name of an active Instant Live channel. The stream preview page appears.
-
Below the preview window, click Open clip tool. The clipping interface appears.
-
(Optional) Beneath the preview window, adjust the timeline Fit until it clearly displays the portion of the stream you want to clip. You can do this in two ways:
- Preselected: From the Fit dropdown menu, choose a preselected fit option based on the stream’s duration.
- Manual: Beside the Fit dropdown menu, click
 (maximize icon) to zoom in on the stream or
  (minimize icon) to zoom out.
-
Define the clip through one of the following approaches:
Click and drag
- On the timeline, click and hold at the point where the clip starts. A marker appears.
- Drag from the marker to the point where the clip should end. As you begin dragging, a blue rectangle appears outlining the boundary of the video clip.
- Click and drag either end of the rectangle to adjust the clip duration.
You can use the clipping shortcuts to refine duration.
Define Set in and Set out points
- On the timeline, click at the point where the clip should start. A marker appears.
- Click Set in (or the letter I on your keyboard) to set the current marker location as the start of the clip. A blue rectangle appears.
- Click at the point where the clip should end. A marker appears.
- Click Set out (or the letter O on your keyboard) to set the current marker location at the end of the clip. The right side of the blue rectangle extends to the end location. The blue rectangle shows the boundary of the video clip.
You can use the clipping shortcuts to refine duration.
-
In the preview window, click the play icon to preview the clip.
-
Click Save as new. The Save as new media panel appears.
-
Enter the Title of the new media clip.
-
Click Save as new. Once the clip is processed, the new clip will appear in your media library.
Shortcut reference
The Live clipping shortcuts allow you to quickly navigate through a live stream, set in and out points, and preview a live clip.
Each of the on-screen and keyboard shortcuts is listed and described in the following tables.
At the top right of the clipping interface, you can also click
(keyboard icon) to reveal a shortcuts key.
Navigation
You can use the following shortcuts to refine the in and out points of a live clip.
| Description | On-screen Control | Keyboard Shortcut |
|---|---|---|
| Move backward by one minute | -60s | --- |
| Move backward by 10 seconds | -10s | --- |
| Move backward by five seconds | --- |  |
| Move backward by one second | -1s | --- |
| Move backward by one frame | -1f |  |
| Move forward by one frame | +1f |  |
| Move forward by one second | +1s | --- |
| Move forward by five seconds | --- |  |
| Move forward by 10 seconds | +10s | --- |
| Move forward by one minute | +60s | --- |
| Move to the live edge | LIVE | --- |
| Zoom in on the timeline | | 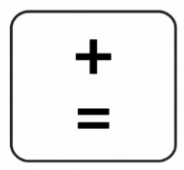 |
| Zoom out of the timeline | | 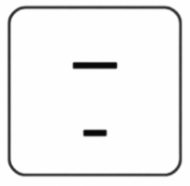 |
| Reset the timeline |  |  |
In and Out Points
You can use the following shortcuts to set the in and out points of a live clip.
| Description | On-screen Control | Keyboard Shortcut |
|---|---|---|
| Set the in point (beginning) of a live clip at the location of the marker |  | 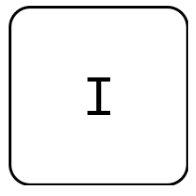 |
| Set the out point (end) of a live clip at the location of the marker |  |  |
Playback
You can use the following shortcuts to play the stream or preview a live clip.
| Description | On-screen Control | Keyboard Shortcut |
|---|---|---|
| Play the live stream or preview a live clip | | 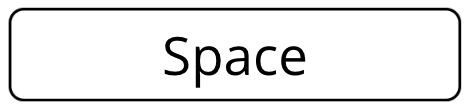 |
Updated about 2 hours ago