Manage ad insertion custom reports
Learn how to schedule, download, edit, and delete ad insertion custom reports
After creating an ad insertion custom report, you can schedule, download, edit, or delete it.
Schedule a report
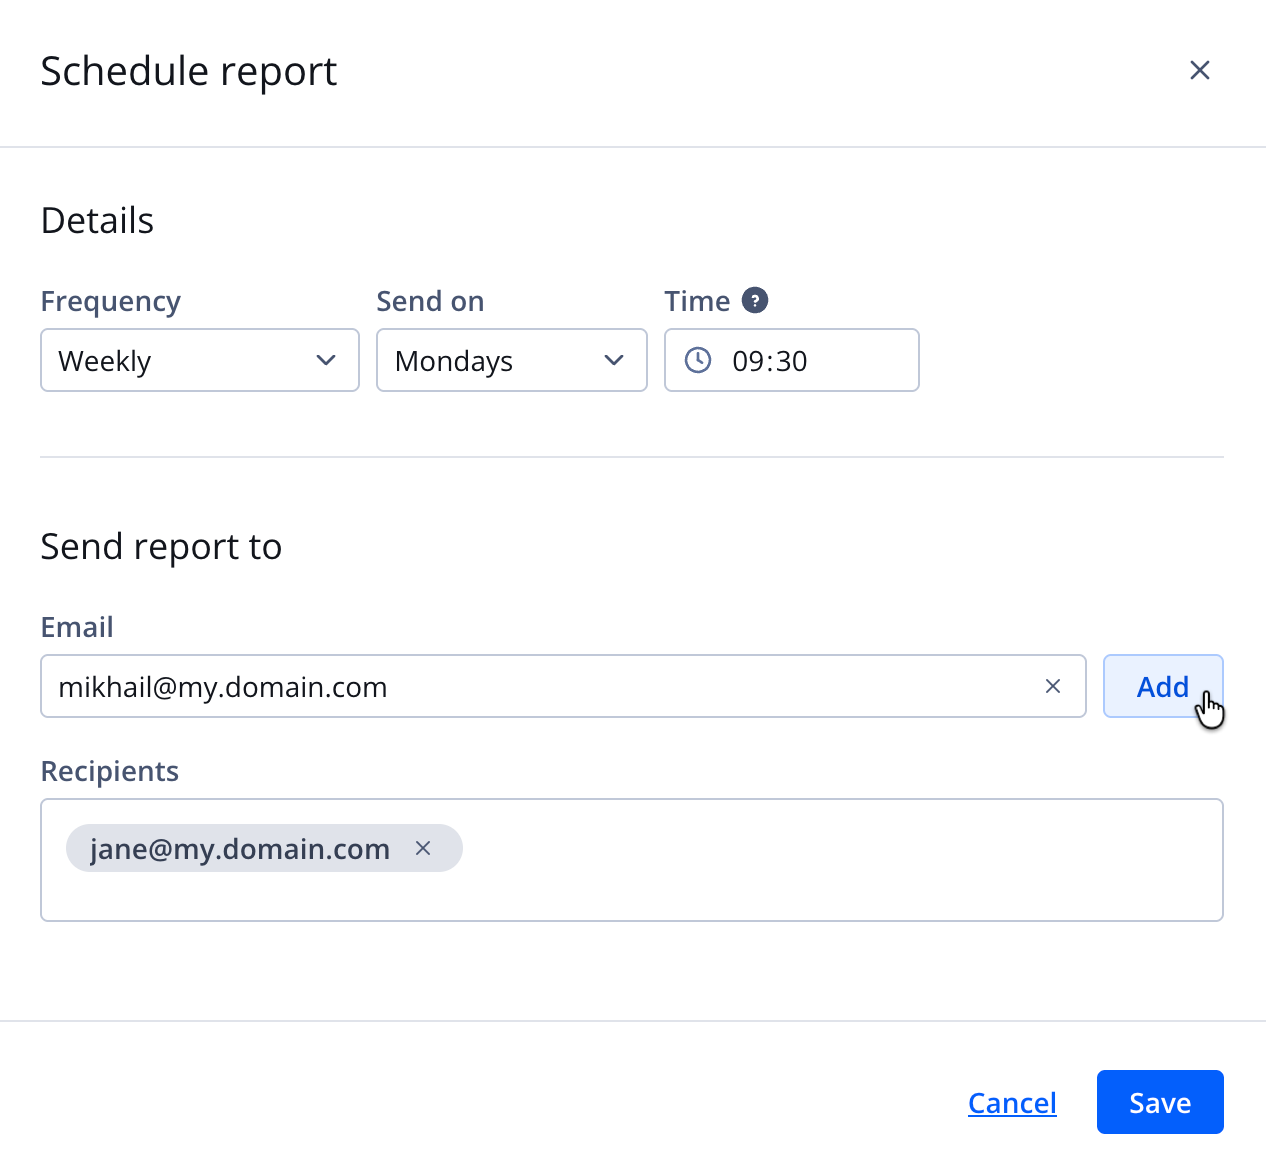
Schedule report panel
Create a schedule
Follow these steps to schedule a report:
- On the Custom reports page, on the Ad insertion tab, click the name of the report. The report opens.
- Click ⋯ > Create schedule. The Schedule report panel opens.
- Define the schedule frequency Details of the report.
Daily
Follow these steps to schedule the report to run daily:- From the Frequency dropdown menu, select Daily.
- Enter the Time in HH:MM, 24-hour format.
- (Optional) Choose the recipients who will receive the report:
- Enter a single Email address.
- Click Add. The recipient name appears under Recipients.
- Repeat steps 4i-ii to add multiple recipients.
- Click Save. The report is scheduled, and the panel closes.
Edit a schedule
Follow these steps to edit a schedule:
- On the Custom reports page, on the Ad insertion tab, click the name of the report. The report opens.
- Click ⋯ > Edit schedule. The Schedule report panel opens.
- Follow steps 3-5 of Create a schedule to finish editing the schedule settings.
Remove a schedule
Follow these steps to remove a schedule:
- On the Custom reports page, on the Ad insertion tab, click the name of the report. The report opens.
- Click ⋯ > Remove schedule.
Download a report
Follow these steps to download a report:
- On the Custom reports page, on the Ad insertion tab, click the name of the report. The report opens.
- Click ⋯ > Export as CSV.
- Save the .csv file to your device.
Edit a report
Follow these steps to edit a report:
- On the Custom reports page, on the Ad insertion tab, click the name of the report. The report opens.
- Under the Ad insertion column, on the All Fields tab, select one or more DIMENSIONS or MEASURES. The fields will appear in the main pane.
Follow these steps to learn about a specific dimension or metric:
- Hover over the dimension or metric.
- Click ⓘ (information icon). A pop-up window appears defining the value.
- (Optional) In the main pane, expand the Filters section to filter or limit data for the report.
- (Optional) Define a visualization or graph.
- Click Run to generate the report results.
- Click Save. The changes to the report will be saved.
Delete a report
Deleting a report from your account is irreversible.
You can remove reports individually or in bulk:
- Single report: Delete one report directly from the report list
- Multiple reports: Select and delete several reports at the same time
Single report
Follow these steps to delete a report:
- On the Custom reports page, on the Ad insertion tab, click ⋯ > Delete in the row of a report. The Delete report pop-up window opens.
- Click Delete. The report is deleted and removed from the report list.
Multiple reports
Follow these steps to delete multiple reports:
- On the Custom reports page, on the Ad insertion tab, click the checkbox in the rows of multiple reports.
- Click Delete. All selected reports are deleted.